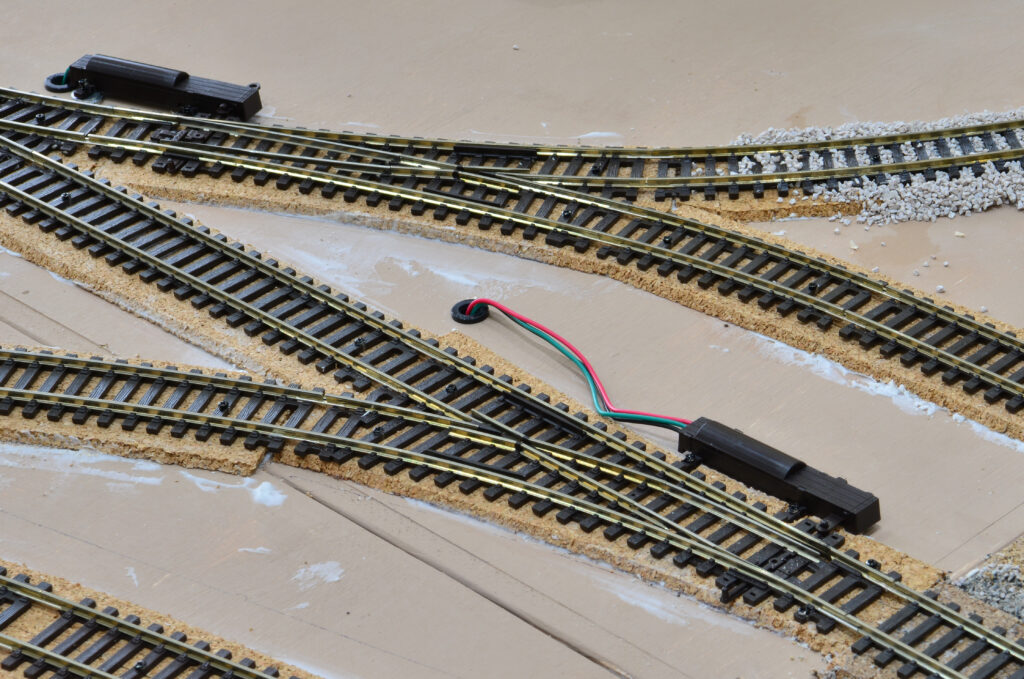
Model railroad wiring is one of the most intriguing and exciting parts of the hobby itself. It has its appeal with the set of parts that it comprises. However, it is an extensive range of instructions and guidance that entails successful wiring.
In turn, that leads to efficient power consumption and the functionality of your dream model railroad. Here are some of the most intricate model railroad wiring methods summarized below.
Standard Model Railroad Wiring
Standard model railroad wiring requires the right-hand rail to be positive once the loco starts moving in a forward direction. So, you have to place the leads over the track for the engine to move forward and towards the right, once you use the direction on the power pack to the right.
You can even swap the leads towards the back of the pack if you require. Moreover, if you want to insulate the metal rail joiners, you can opt for the plastic rail joiners. However, bear in mind that if the track joins the main track and is double-sided, you must insulate the siding entirely (i.e., both ends).
What if you are using a siding that is dead-end? Well, for that, all you need is a single insulator. Besides that, if your preference is over multiple insulating sidings, you can ensure the insulation one rail per siding. Consequently, you can attach switches and wires that will turn the insulation on or off upon use. If you are wondering about the terminology for the joiners on the railroad (i.e. insulated), they are “gaps”.
Common Rail Wiring
Common rail wiring is another method of wiring model railroads. What it entails is the insulation of a single (the same) rail while in connection with another one. Most commonly, model railroad enthusiasts prefer to use a jumper wire in order to insulate the same rail by going around the gap and turnout. Simple, use an easy sketch to label the outer rail as a “plus” while labeling the inner rail as a “minus”.
To understand common rail wiring better, assume an oval where the outside rails are always positive and the inner rails are always negative. So, insulating inner rails along with every siding that you control with off-on switches, outer rails turn into common ground. Subsequently, the inner rail will become the switched burning lead. Hence, the name “common” rail.
What to Keep in Mind?
Bear in mind, wiring a model railroad can be expensive irrespective of the layout, i.e. small or big. The main expense will arise due to the building lights, block detectors, remote turnouts, several track blocks, and so on.
More so, consider keeping the wiring neat and labeling each and every set to make it easy for repair cases.
Conclusion
Are you feeling overwhelmed with the information regarding wiring model railroads? Are you experiencing newbie railroad problems? Here at Charles Ro, we can help you with all your model railroad and train problems. Give us a call to learn from some of the best model railroad and train enthusiasts and professionals in America.


