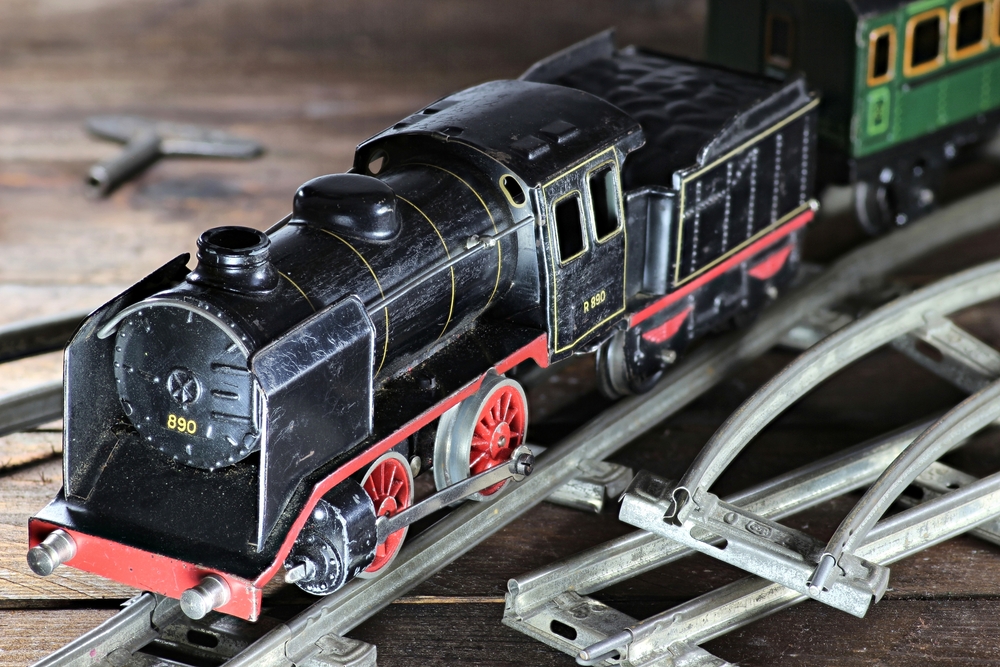
Are you someone who loves model trains and wants to take your passion to the next level? You may be entirely new to the hobby and can’t wait to build your miniature railway universe. Regardless of your preference, constructing your model train table is necessary to design an exciting and practical layout for your trains. Here, you’ll find all the information you need to build a model train table uniquely suited to your needs and creative vision.
Planning and Design:
Before you get any tools, think about the layout and construction of your model train table. Space constraints, train size, desired layout complexity, and elements like tunnels, bridges, and landscapes are all crucial considerations. Make a rough draft on paper or in design tools to get a feel for the space.
Selecting Materials:
Your taste, your budget, and the shape of your table will dictate the materials you choose. Common choices include plywood, medium-density fiberboard (MDF), and even repurposed materials like pallet wood or old doors. Sturdy timber, such as 2x4s or 1x3s, is ideal for the frame. Collect all of the necessary hardware, including screws, nails, glue, and more, before you begin assembling.
Building the Frame:
To begin, build the table’s framework by your plans. Verify the table’s flatness and stability using a level. For extra strength, use screws or brackets to reinforce the corners and joins. Consider using legs or adjustable feet to secure the arrangement and make maintenance easier.
Adding the Tabletop:
After assembling the frame, the next step is to cover the surface with material. Before screwing or adhesively attaching plywood or MDF to the frame, make sure it is trimmed to size. You need a flat, smooth tabletop for your tracks and scenery to stay there.
Installing Track and Wiring:
After you’ve assembled the table, the next step is to install the track and wire the trains. To build a captivating and realistic track, meticulous planning is required, taking into account bends, switches, and variations in elevation. Use track nails or glue to fasten the track to the tabletop, and then connect the power and control wires as the manufacturer directs.
Adding Scenery and Details:
The most exciting phase is about to begin: decorating your model train table with scenery and accessories. Use modeling materials like foam board or plaster cloth to add topographical elements like hills, valleys, rivers, and mountains. Enhance the atmosphere of your layout by painting the terrain and adding elements such as trees, houses, roads, and people.
Testing and Fine-Tuning:
You should check and tweak your model train table when it is finished. Test the track’s smooth functioning and identify weak spots by running your trains around it. Adjust the scenery, wiring, and layout to obtain the required look and functioning.
Enjoying Your Creation:
Now that you’ve finished building your model train table, it’s time to sit back, relax, and enjoy your work. Feel proud of the unique railway world you’ve built, whether playing alone or with loved ones; it reflects your enthusiasm and imagination.
Ready to Start Your Own?
Creating your model train table from the ground up is an exciting and satisfying hobby that lets you personalize your little railroad empire in every way. Following these steps and letting your creativity flow will allow you to design an enchanting and immersive layout that will amaze and delight anybody who sees it. The time has come to roll up your sleeves, collect your supplies, and set off on a path to train happiness!


