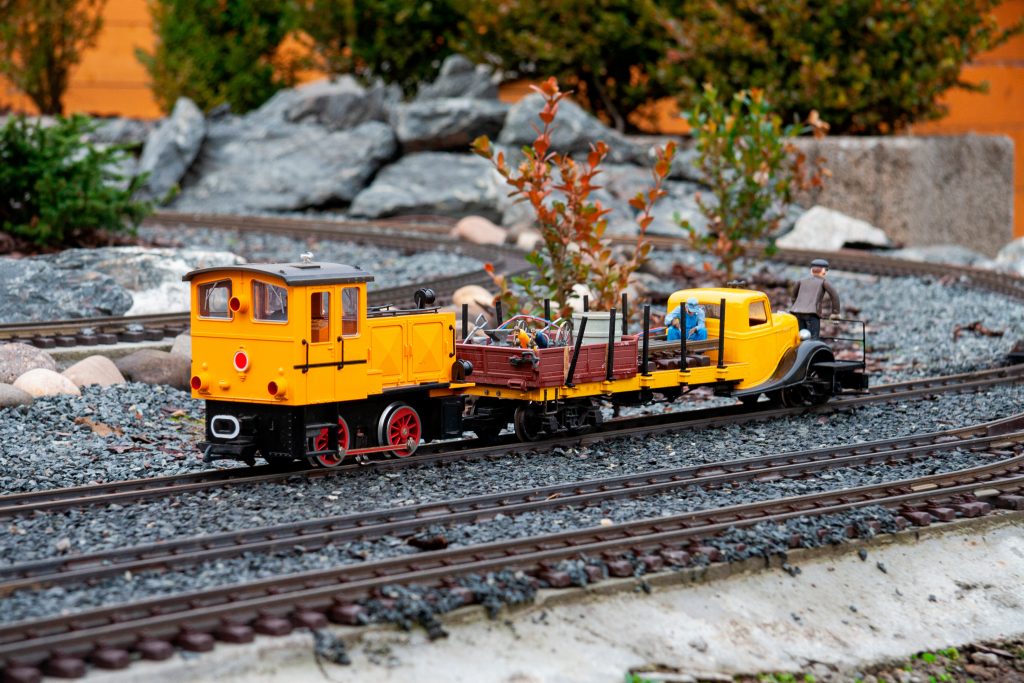
Miniature artworks that evoke nostalgia and artistry; model trains are more than simply toys. Fixing and improving your model train may be a satisfying hobby for collectors and enthusiasts. You may enhance your locomotive’s performance, appearance, and overall pleasure by changing the wheels, an essential part of maintenance. Here, we will explore the detailed procedure for changing the wheels on a model train.
Replacment for Model Train Wheels
Normal wear and tear, friction, and environmental factors that affect model train wheels cause them to degrade over time. Furthermore, older wheels may not have the same level of accuracy and detail as newer ones, which might make your layout seem less realistic. If you care about your model train’s flawless running and authenticity, you must replace damaged or dated wheels.
Assessing Your Needs
Assessing your unique needs is a prerequisite to beginning the replacement process. Think about things like size, wheel material, and compatibility with what you already have. Consider performance and aesthetics as you investigate to find the best replacement wheels for your model train.
Gathering the Necessary Tools and Materials
Replacing model train wheels requires precision and attention to detail. Ensure you have the following tools and materials readily available:
- Replacement wheels (compatible with your locomotive’s scale and specifications)
- Screwdriver set (to disassemble the locomotive)
- Pliers (for handling small components)
- Lubricant (to ensure smooth operation post-installation)
- Work surface with adequate lighting (to prevent loss of small parts)
- Optional: Wheel puller tool (for removing old wheels without damaging the axle)
Step-by-Step Replacement Process
Get Your Workspace Ready: Get settled into a spotless, well-lit area where you won’t be interrupted while building your model train.
Take the locomotive apart: Carefully pry apart the locomotive’s body shell with a screwdriver to reveal the wheels and chassis. To make reassembly easier, mark the locations of screws and tiny parts.
Remove the Old Wheels: Depending on your model train’s design, you may need to unscrew or pry the old wheels from the axles. Proceed carefully to avoid harming the axle or any of its adjacent parts.
Install the New Wheels: Mount the new wheels onto the axles After they are seated and aligned correctly. The new wheels may need further tweaks or alterations to some models.
Reassemble the Locomotive: After the replacement wheels are in, carefully put the locomotive back together, being sure to reattach any removed wires or parts while disassembling.
Make Sure It Works: Before resuming service, run the locomotive through a test run to ensure the new wheels work properly. Lubricate your axles and bearings as needed to ensure smooth and efficient operation.
Adjustments & Fine-Tuning: To maximize performance and guarantee compatibility with your model train layout, make any required wheel alterations, such as wheel spacing or alignment.
Ready to Replace Yours?
Changing out the wheels on your model train locomotive is a fun and satisfying project that will give it a new lease of life and elevate your model railroading experience. If you take the time to follow the instructions in the letter, you can confidently update your model train and enjoy years of trouble-free running and miniature railway fun. Get your hands dirty, grab your tools, and prepare for an exhilarating adventure in locomotive improvement!


