Repainting model trains can breathe new life into your collection, allowing you to customize and personalize your models to your liking. Whether you want to restore an old train to its former glory or create a unique piece, repainting is rewarding. Here’s a detailed guide to help you achieve professional-looking results.
1. Gather Your Supplies
Before you begin, ensure you have all the necessary supplies:
- Model train to repaint
- Screwdrivers and pliers (for disassembly)
- Paint stripper or isopropyl alcohol (for removing old paint)
- Sandpaper or sanding sticks
- Primer (specifically for plastic or metal, depending on your model)
- Acrylic or enamel model paints
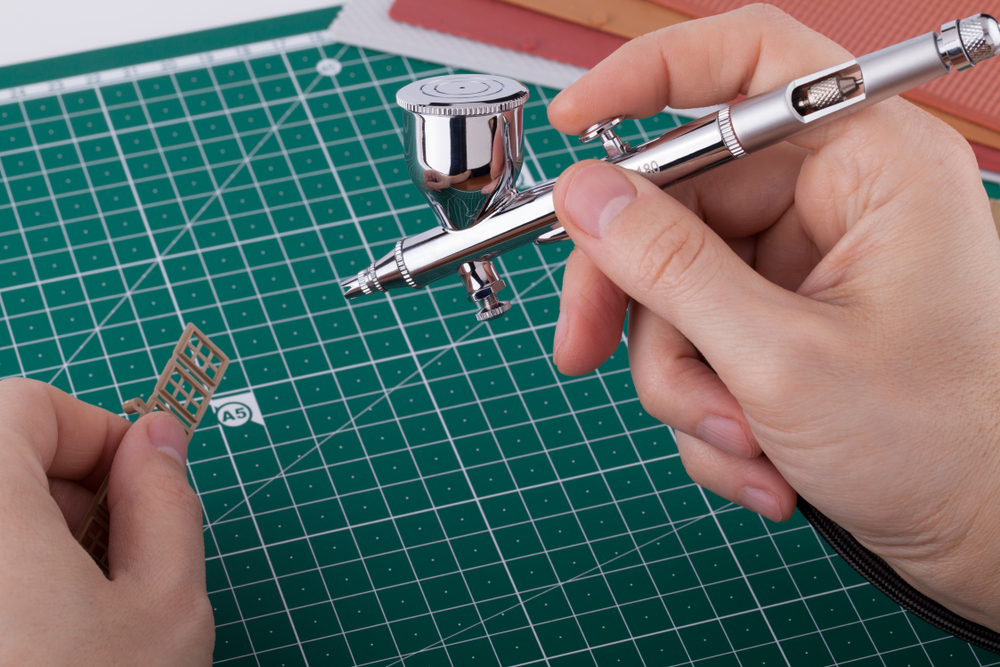
- Fine detail brushes and airbrush (optional but recommended for a smoother finish)
- Masking tape and fine masking film
- Clear coat (matte or gloss, depending on the desired finish)
- Protective gloves and a well-ventilated workspace
2. Disassemble the Model Train
Start by carefully disassembling the model train. Use screwdrivers and pliers to remove screws and other fasteners. Keep all the small parts organized in a container to prevent loss. This step is crucial as it allows you to paint each part separately and more accurately.
3. Strip the Old Paint
To achieve a smooth finish, you must remove the old paint. Depending on the type of paint used previously, you can use a commercial paint stripper or soak the parts in isopropyl alcohol. After washing, gently scrub off the stain with a toothbrush or small brush. Be cautious not to damage delicate parts.
4. Sand and Clean the Surface
Once the old paint is removed, sand the surfaces to smooth out imperfections. Use fine-grit sandpaper or sanding sticks to avoid scratching the surface. After sanding, clean the parts thoroughly to remove any dust or residue. A mild soap solution or isopropyl alcohol works well for this purpose.
5. Apply Primer
Priming is essential for achieving an even paint job and ensuring the paint adheres properly. Choose a primer suitable for your model’s material (plastic or metal). Apply the Primer in thin, even coats, and allow it to dry completely between applications. This step may require several coats to cover the surface adequately.
6. Paint the Model
With the primer dry, it’s time to apply the base color. If using an airbrush, ensure it is clean and functioning correctly. For brush painting, use fine detail brushes to apply the paint in thin, even layers. Multiple thin coats are preferable to one thick coat, as this prevents drips and ensures a smooth finish. Allow each coat to dry thoroughly before applying the next.
7. Masking and Detailing
For models with multiple colors or detailed patterns, masking is crucial. Use fine masking tape and masking film to cover areas that should remain the base color. Apply additional colors in thin layers as before. Decals can be applied to intricate details. Follow the decal instructions carefully to avoid bubbles and ensure proper adhesion.
Ready to Repaint Your Model Train?
Repainting model trains is a meticulous but rewarding hobby that allows you to personalize your collection. By following these steps, you can achieve a professional-quality finish. Take your time with each stage, from disassembly and paint removal to painting and reassembly, to ensure the best results. With practice and patience, you’ll master the art of repainting model trains and enjoy a unique collection tailored to your tastes!